11/22/15

JUARA SKINCARE X SEPHORA INDONESIA

goodies i got from the event <3

good day!
how happy i was when i know i was invited to a skincare event.
actually its my first time hearing the brand 'JUARA'
as i stand near the products, i can smell lots of different scents of Indonesian herbs.
and true as they explaining that the ingredients is Indonesia's traditional herbs.


inspired from old ancient beauty rituals and traditional herbal remedies, they created a series of body and face products that are effective in addressing skin problems and providing a naturally luxurious experience.

THE FOUNDERS
Metta Murdaya
Yoshiko Roth
Jill Sung
Tami Chuang


as i came, i got a hand massage which was so good.
you can see how my right hand is so dry and my left hand is glowing after the massage using Juara's products.


they wonderful face masks.
available in 3 scents.
wear it all over your face, let it sit for 10 to 15 minutes, rinse.


the body milk and shower gel have such a great smell. so relaxing.


and now to the star of this brand!
*drumrolls*
JUARA RADIANCE VITALITY OIL

this product is the best seller. 
at first i was afraid to try because it looks so oily and i wore makeup.
but they told me to try and said that its okay to put on top of makeup.
so i tried it.
2 to 3 drops is enough.
pat on your palm then apply on your face.
at first, it feels a lil bit greasy. but after a minute, amazingly it didnt feel like that at all.
my face looks glowing and healthy as if from within.

BENEFITS :
  • firm and enhances skin elasticity
  • brightens and boosts radiance
  • smoothes and softens
  • provides antioxidant protection
  • help protect and repair with powerful antioxidants
  • nourishes and hydrates
  • ultra pure formula good for all skin types, especially anti aging skin.
INGEDIENTS :
  • plumperia flower
  • passion fruit oil
  • 5 flavor berry
  • turmeric oil
  • candlenut oil
  • rice bran oil
  • avocado oil
  • jojoba oil
  • macadamia nut oil
  • squalane
  • stabilized vitamin C


its like one bottle of goodness inside.

i've been using it for a week now, twice a day.
my skin feels firm and moist.
im not suffering from any breakouts.
every morning when i wake up it feels moist and not dry after a long time under the AC.

and the good news is that this product is from natural ingredients so its okay if you wanna wear it with any other face products.
i wear this after my SK-II treatment essence and it adds goodness on my skin.


11/12/15

LET'S GET PLAYFUL


hello, 
this time i made a playful makeup tutorial based of one of my facecharts
you can see it on my instagram
this is not a halloween look tho. i just made this for fun.
this look is originally created by me.
i used star as it is my favourite icon out of all.
hope you like this look, enjoy <3


first, clean your face and apply moisturiser and lip balm.


then apply primer to make the makeup stay on longer.
with your sponge / brush / fingers, apply dots of foundation and blend well.


use concealer to cover any redness, blemishes, and dark circles.
and set up your base with pressed powder.

*you can use loose powder or foundation powder as you like.


contour your face and fill in your brows


I'm using orange color from blush palette all over my lids and just a lil bit of dark brown on the outer corner just to give a little depth.


steps :
1. orange eyeshadow
2. dark brown eyeshadow
3. gel eyeliner and liquid liner
4. mascara
5. fake lashes
6. done


for the eyeliner, apply gel liner on the upper lash line and make a wing with liquid liner.


i used two different lashes. stack them on first, cut as your eyes length and put 'em on.


use orange lipstick or any color you like.


lastly, cut your tattoo in small pieces and stick 'em on to your face.
fun part! peel 'em off!
and you're done.

*this is not a sponsored makeup


credits to davy reinaldo


you should go playful with this look. you can put the tattoo anywhere you want it to be. feel free to experiment it yourself.
lemme know what you guys think about this look and i'll see you on my next post!


11/2/15

ALESSANDRO STRIPLAC REVIEW


last sunday i was invited to sephora to try out this new product called
' ALESSANDRO STRIPLAC '
this is a gel based peel off nail polish which comes out in so many pretty colors for you to choose.
fyi, this nail polish comes from Germany.
the name is ALESSANDRO.
it was classified in 3 types which are
- Magic Stars
- Alessandro Striplac
- Dream collection

Striplac - peel off nail polish with gel based
Stars - basic nail polish with matte shimmer end
Dream - creamy nail polish with diamond powder


striplac ( 189k) - stars ( 171k) - dream ( 250k )


how to  :
- apply twin coat ( top coat + base )
- dry with LED for 60 secs
-apply first coat of your chosen color
- dry again for 60 secs
- apply second coat if you want to
- dry for 60 secs more
- apply twin coat to seal
- dry for 60 secs
- rub your nails with striplac pads for shinny end
- done!

 hawaian dream - peachy cinderella - dark violet


striplac pads ( 50 sheets )


after peeled off

PROS : 
- even after so many coats, it still feels so light
- not crack easily
- pretty colors
- last for 7 to 10 days
- can be peeled.

CONS :
- nails are a lil bit dry after peel off
- must be applied at least 2 coats
- takes time for drying and coating ( but faster than going to nail shop )

RESULT :
i love it. not to pricey. no need to go to nail shop anymore.
no acetone needed, just peel it off.

oh ya, they also sell a starter kit.


what you get from starter kit : 
red nail polish - twin coat - LED - pads - peel of activator
( around Rp 1.xxx.xxx )


made some new friends again at this gathering.
showing our fresh polished nail.


well thats it. let me know what you think. see you guys around.


10/28/15

BLACK SMOKEY EYES


hello, this time i'm back with new tutorial as promised.
for this makeup tutorial, I'm gonna skip on the eyebrow, lip, base makeup and go straight to eye makeup. 
hope you enjoy and leave a comment below what tutorial should i make on my next post.


nail polish : Alessandro Striplac in color dark violet

step 1 : apply eye primer
step 2 : line your upper and lower waterline with cream eyeliner ( smudge-able )
line your eyelids about 0,5 cm, it doesn't have to be neat. just go messy.
if you are monolids like me, open your eyes, and mark where you ant your eyeshadow to be seen.
and smudge all over your eyelids with blending brush.
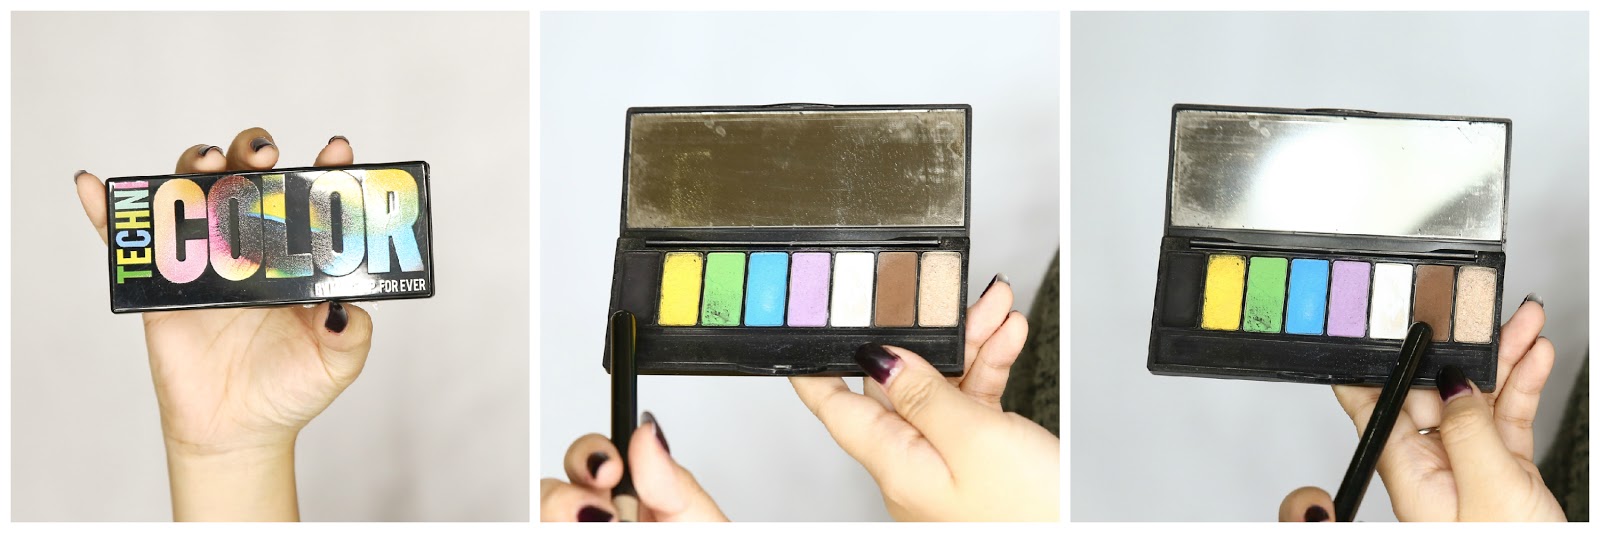
step 3 : apply black eyeshadow on top of the eyeliner and blend to make it more black.
step 4 : apply brown eyeshadow on the outer black eyeshadow and blend any harsh line.
step 5 : curl your eyelashes and apply mascara and false lashes.
and you are done!

products I'm using :

- urban decay 24/7 crayon eyeliner in black
- makeup for ever Techni Color eyeshadow palette in black and brown
- andiyanto lashes no. 5 ( double )
- maybelline mascara


10/22/15

LIGHT SMOKEY GOLD MAKEUP ( GREAT FOR MONOLIDS )


holla! so today I'm gonna share with you guys how to achieve a light smokey look. its great for attending night party if you want just a soft natural look.
enjoy!

first, i already applied moisturiser and primer.


Apply foundation all over your face and neck. blend with damp sponge or beauty blender.
dab concealer on blemishes, redness and cover your dark circle.


Set your makeup with powder foundation for a total coverage or you can also use loose powder.
i use mac studio fix in shade nc 42 to contour the hollow of my cheeks, forehead, jawline and side of my nose.

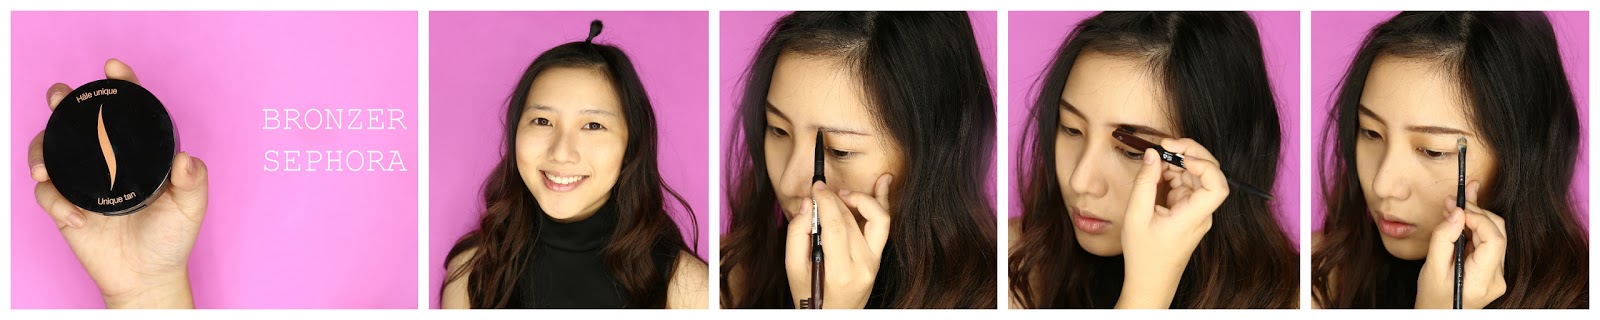
fill in your eyebrow one shade lighter or the same with your hair color. following your natural eyebrows hair and blend for a natural finish.
after using eye primer, apply this rosy gold eyeshadow all over your lids.


apply dark brown color only on the outer corner of your eyes and blend any hard edges.
using the same dark brown color, with smaller brush, apply it on your outer lower lash line and blend inwards.


using the lightest color of the palette, highlight your brow bone.
with black cream eyeliner, line your upper waterline.


with thin angled brush, swipe the cream eyeliner outward and make a wing.
with the eyeliner left on your brush, line the lower lash line.
curl your lashes and they are ready for mascara.


apply your favourite mascara on your upper and lower lash.

choose your fake lashes, fit it to your eyeshade and cut the unwanted part.
apply your fake lashes with the glue of your favourite.


dab some cream highlighter on your cheekbones, forehead and the bridge of your nose, blend.
here I'm using rosy blush on my cheeks lightly.


lastly, I'm using nude lipstick color from mac all over my lip.


so here's the end of this eye makeup look


let me know what do you think about this look in the comment section below.
i'll be coming with lots of makeup tutorial on my next post.
see you guys soon.

follow me on social media :

snapchat : soniatahir

xoxo,
soniatahirmakeup